

Who it is for
For people getting started with their own account.How to open
Dashboard › First steps/dashboard
Screens and features
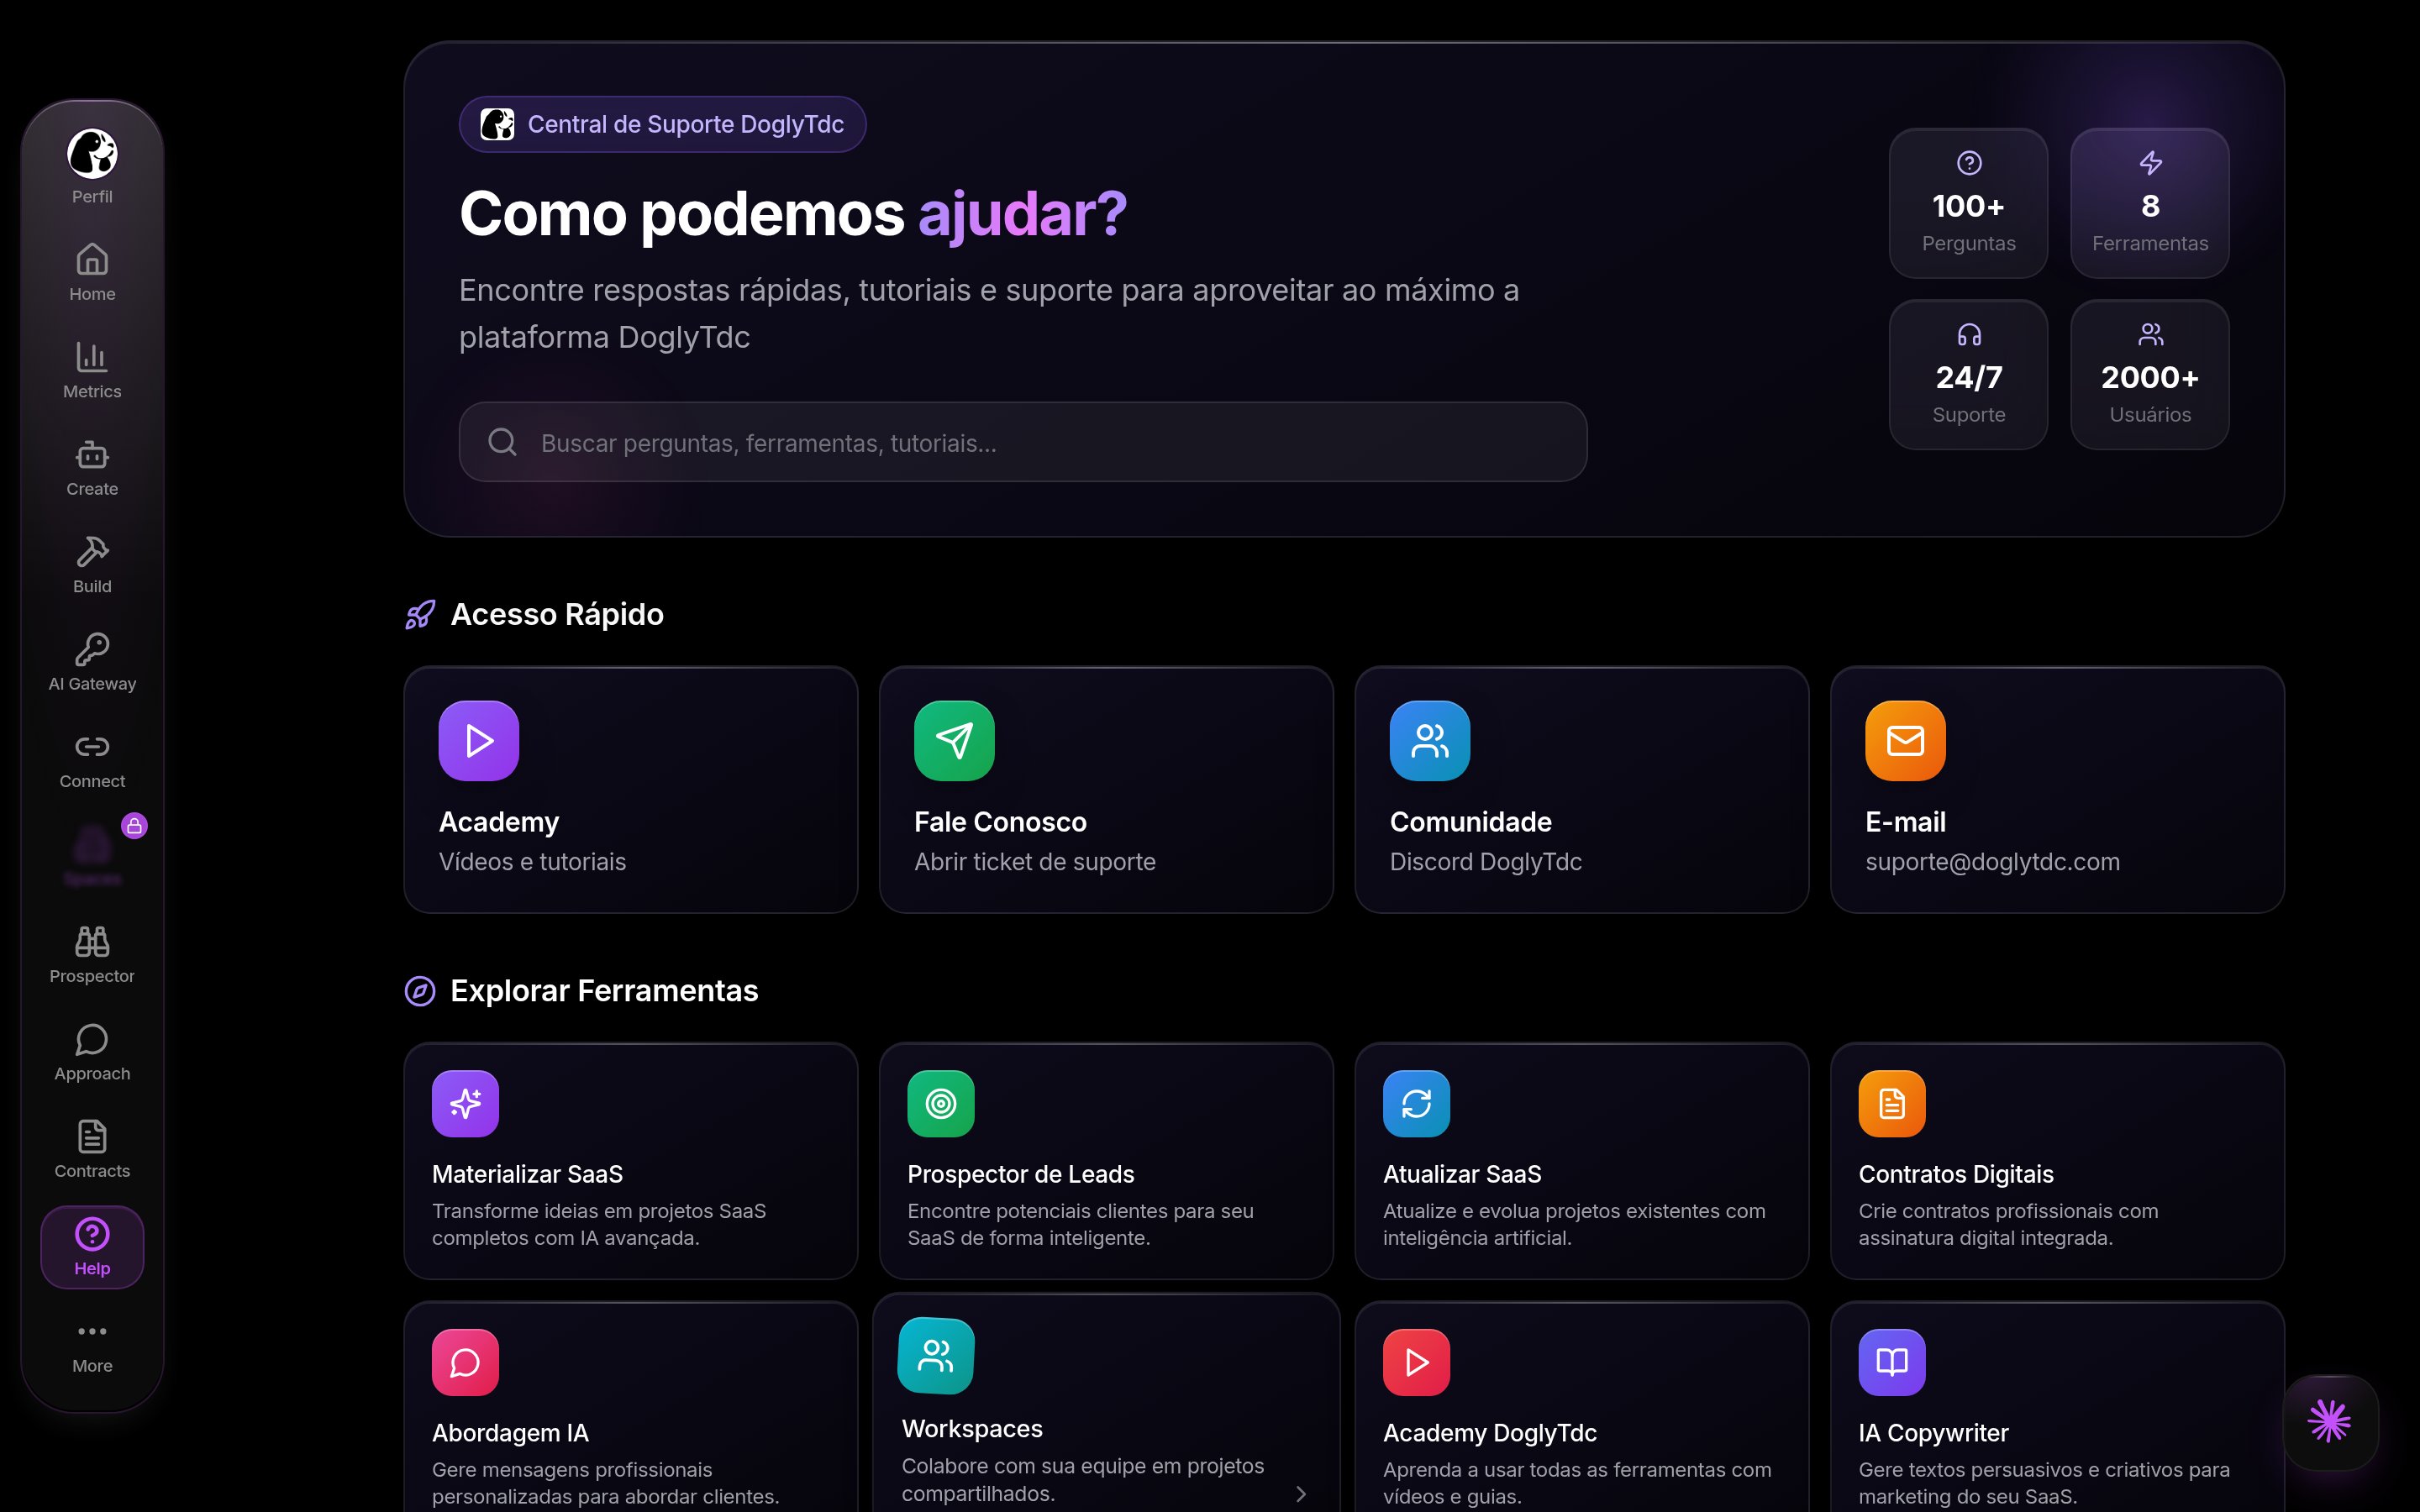
First steps in DoglyTdc
1. Registration
Enter email, password and confirmation. Registration requires at least 6 characters and matching passwords.1
Open sign-up
Go to
/auth and choose Create account.2
Fill in your details
Enter your email, a password and the same value in Confirm password.
3
Submit
Click Create account and open the confirmation email we send.
2. Sign in
Sign in with email and password or use Google and complete provider authorization. For an existing account, reset the password rather than registering again.1
Open sign-in
Go to
/auth; the screen opens on Sign in.2
Choose a method
Use email and password, or Continue with Google / Continue with GitHub.
3
Confirm
Complete the provider’s authorization if asked. Once signed in, the dashboard opens on Home.
3. Home
Home differs for Free and subscribers, with balance, cards and shortcuts. A visible card does not guarantee access.1
Open Home
Sign in and open the dashboard at
/dashboard. Home is the first screen.2
Read the cards
Check your credit balance and the shortcut cards shown for your plan.
3
Follow a shortcut
Click a card to open the feature. If it needs another plan, the dashboard tells you before granting access.
4. Menus and More
Use the sidebar or bottom bar according to appearance and screen size. More shows other destinations. Esc and browser Back can close the grid; the active item stays visible.1
Use the bar
On a computer, use the sidebar; on a phone, the bottom bar.
2
Open More
Tap More to see every feature in a grid.
3
Close the grid
Pick a destination, press Esc or use the browser back button.
5. Information
In Settings › Profile, edit name, nickname, phone and bio. Save and wait for Perfil atualizado. Bio allows 250 characters; nickname and status fields allow 50.1
Open your profile
Go to Settings › Personal information.
2
Edit the fields
Change name, nickname, phone and bio (up to 250 characters).
3
Save
Click save and wait for the profile-updated message.
6. @username
Use 3–24 characters: lowercase letters, numbers, periods and underscores. Wait for availability and save. Reserved or taken names are rejected.1
Find the @ field
In Personal information, find your @.
2
Type the new @
Use 3 to 24 characters: lowercase letters, numbers, dot and underscore. Wait for the availability check.
3
Save
Save once the @ shows as available. A taken or reserved @ is rejected.
7. Photo
Choose PNG, JPG, WebP or GIF up to 8 MB. Adjust cropping when offered and wait for Avatar atualizado. You can also remove the photo.1
Choose the image
In Personal information, click your photo and pick a PNG, JPG, WebP or GIF up to 8 MB.
2
Adjust the crop
Position the image when the crop appears and confirm.
3
Check
Wait for the avatar-updated message. To remove the photo, use the remove option.
8. Balance and allowances
The Credits Center separates daily, plan and purchased credits. Daily credits are used first; purchased credits do not expire. Pay is separate. Free shows 5 daily; checkout lists 10 for Premium and 30 for Business. Check the effective account allowance.1
Open the center
Go to Settings › Credits to open the Credits Center.
2
Read the balance
In Overview, see the available balance split into Daily, Plan and Purchased.
3
Claim the daily credits
Use the daily claim when available; if you already claimed, the center says today’s credits were already claimed.
9. Costs and invites
Custos contains text, image, voice and tools, with search, filters and simulations. AI costs vary by model and actual usage. In Convidar, copy the link; do not assume an immediate reward.1
Open Costs
In the Credits Center, open Costs and choose Text, Image, Voice or Tools.
2
Simulate
Use search and filters to see the estimated cost of each resource.
3
Invite
In Invite, copy your invite link and share it.
10. Addresses with ?tab=
The address preserves recognized screens on reload, Back and Forward. Examples: ?tab=contracts:create, ?tab=slides:projects and ?tab=connect:automation. An unknown internal screen falls back to feature home.1
Open an inner screen
Inside a feature, open the screen you need, for example Contracts › Create.
2
Copy the address
The browser shows something like
/dashboard?tab=contracts:create. Save or share that link.3
Reopen
Opening the link, reloading or using back/forward returns you to the same screen.
Credits and limits
Browsing and editing your profile do not spend credits. Tool actions may use your balance.Permissions
Sign in to edit your data. Spaces and Workspaces require Premium or higher for ordinary access.Common errors
Frequently asked questions
Do I need a subscription?
Do I need a subscription?
Browsing and profile editing do not require a subscription; tools may require plans.
Are Pay and credits the same?
Are Pay and credits the same?
No. They are separate balances.
Does a shortcut unlock access?
Does a shortcut unlock access?
No. Permission checks still apply.
Related
Create account
Create your account, confirm your email, recover your password and finish the welcome setup.
Account and profile
Edit your name, @, photo and presence, and see what your public profile shows.